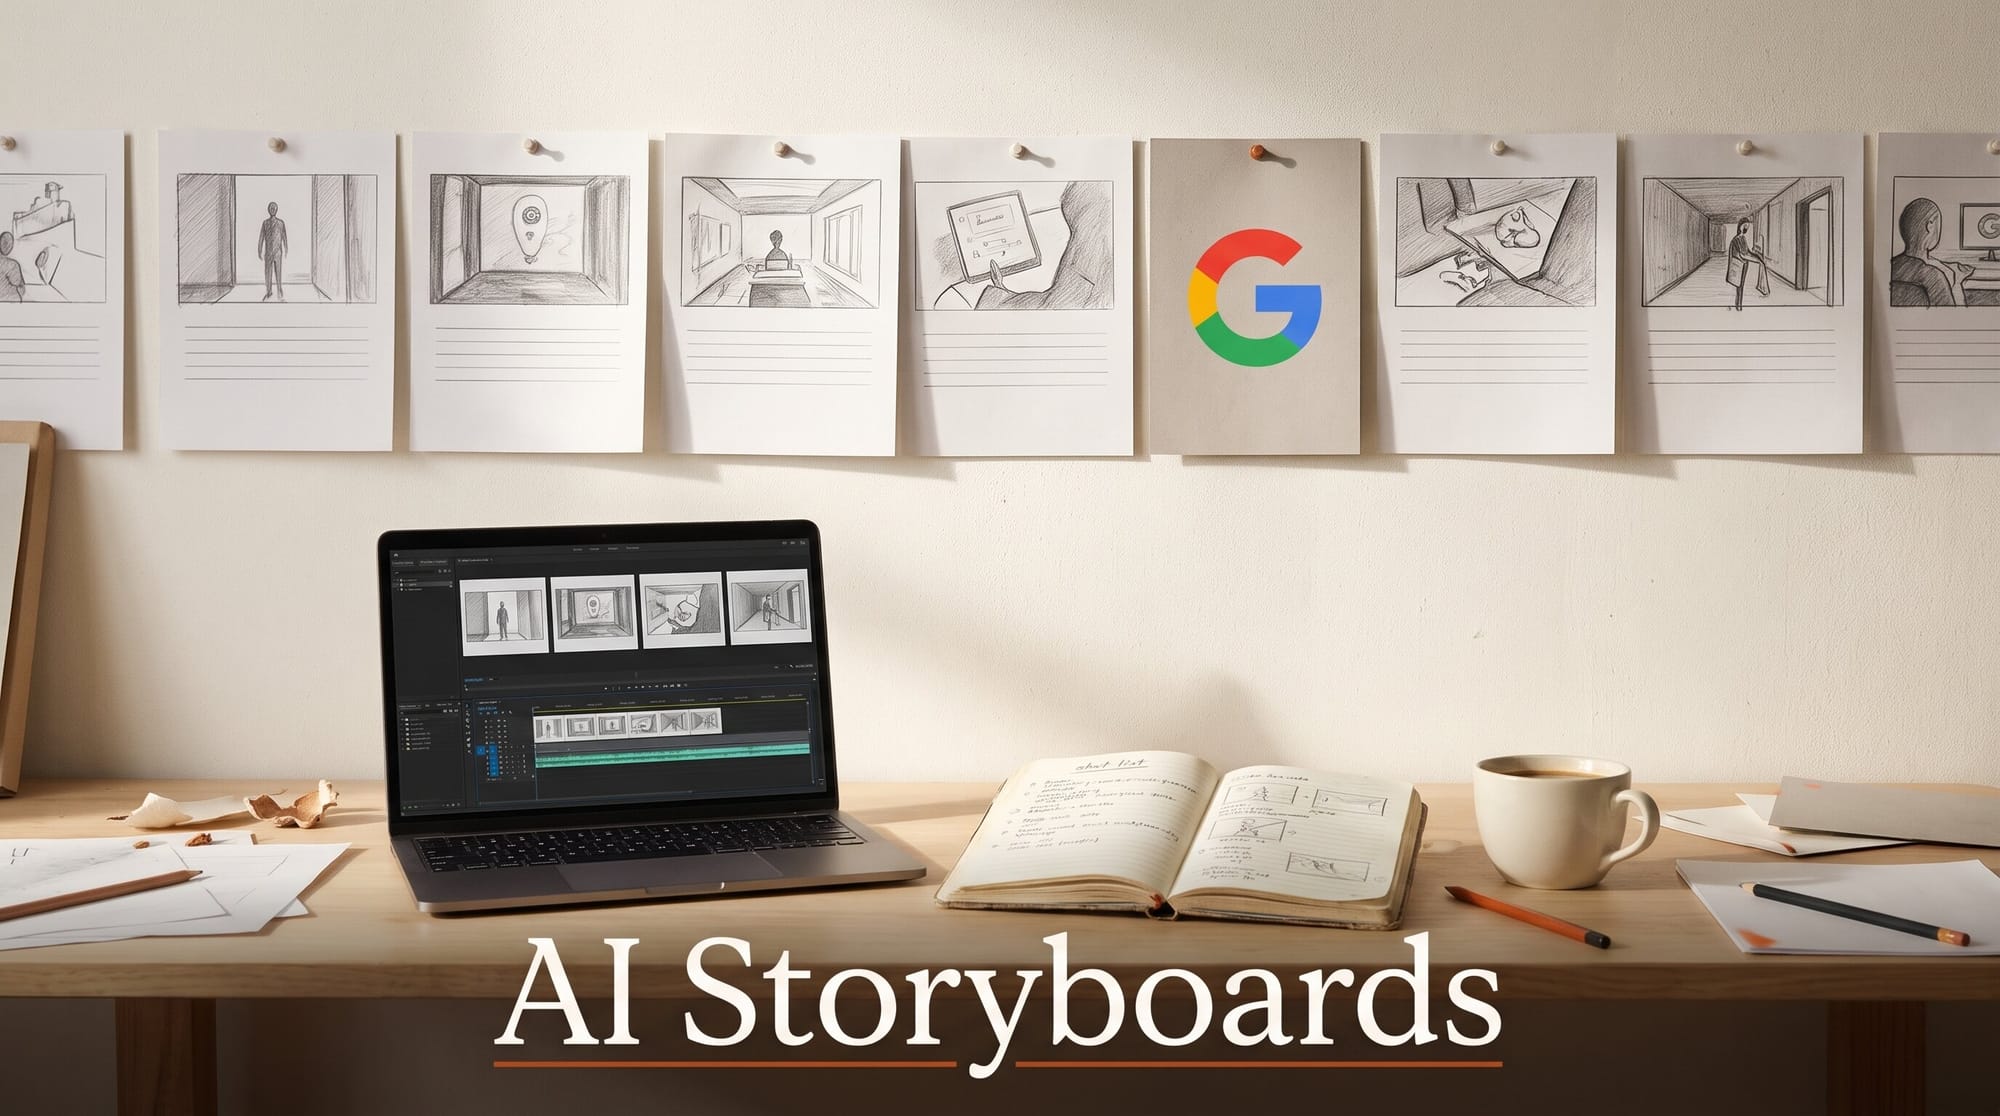
You can storyboard a video with AI in about two hours and pay nothing: a chatbot turns your script into a shot list, Google Flow draws every frame with your characters kept on-model, and a free editor turns the frames into a timed animatic. Flow images cost no credits, and an account without a Google AI plan can make up to 400 Nano Banana 2.1 images a day. The same free daily Flow credits then turn your key frames into short motion tests. This guide walks a 30-second promo through every step.
What You Need
- A script or a rough idea. Even three sentences are enough to start.
- A chatbot for the shot list: ChatGPT, Claude or Gemini. The free tiers are fine.
- A Google account for Google Flow, which runs in a web browser. No subscription is needed for anything in this guide.
- One or two pictures of each character, or a description you will use to generate them.
- A free video editor for the animatic: CapCut or DaVinci Resolve, both free to download.
- Optional: a storyboard app to share frames with a client. Boords has a free plan; a slide deck works too.
Plan the Shots Before You Draw Anything
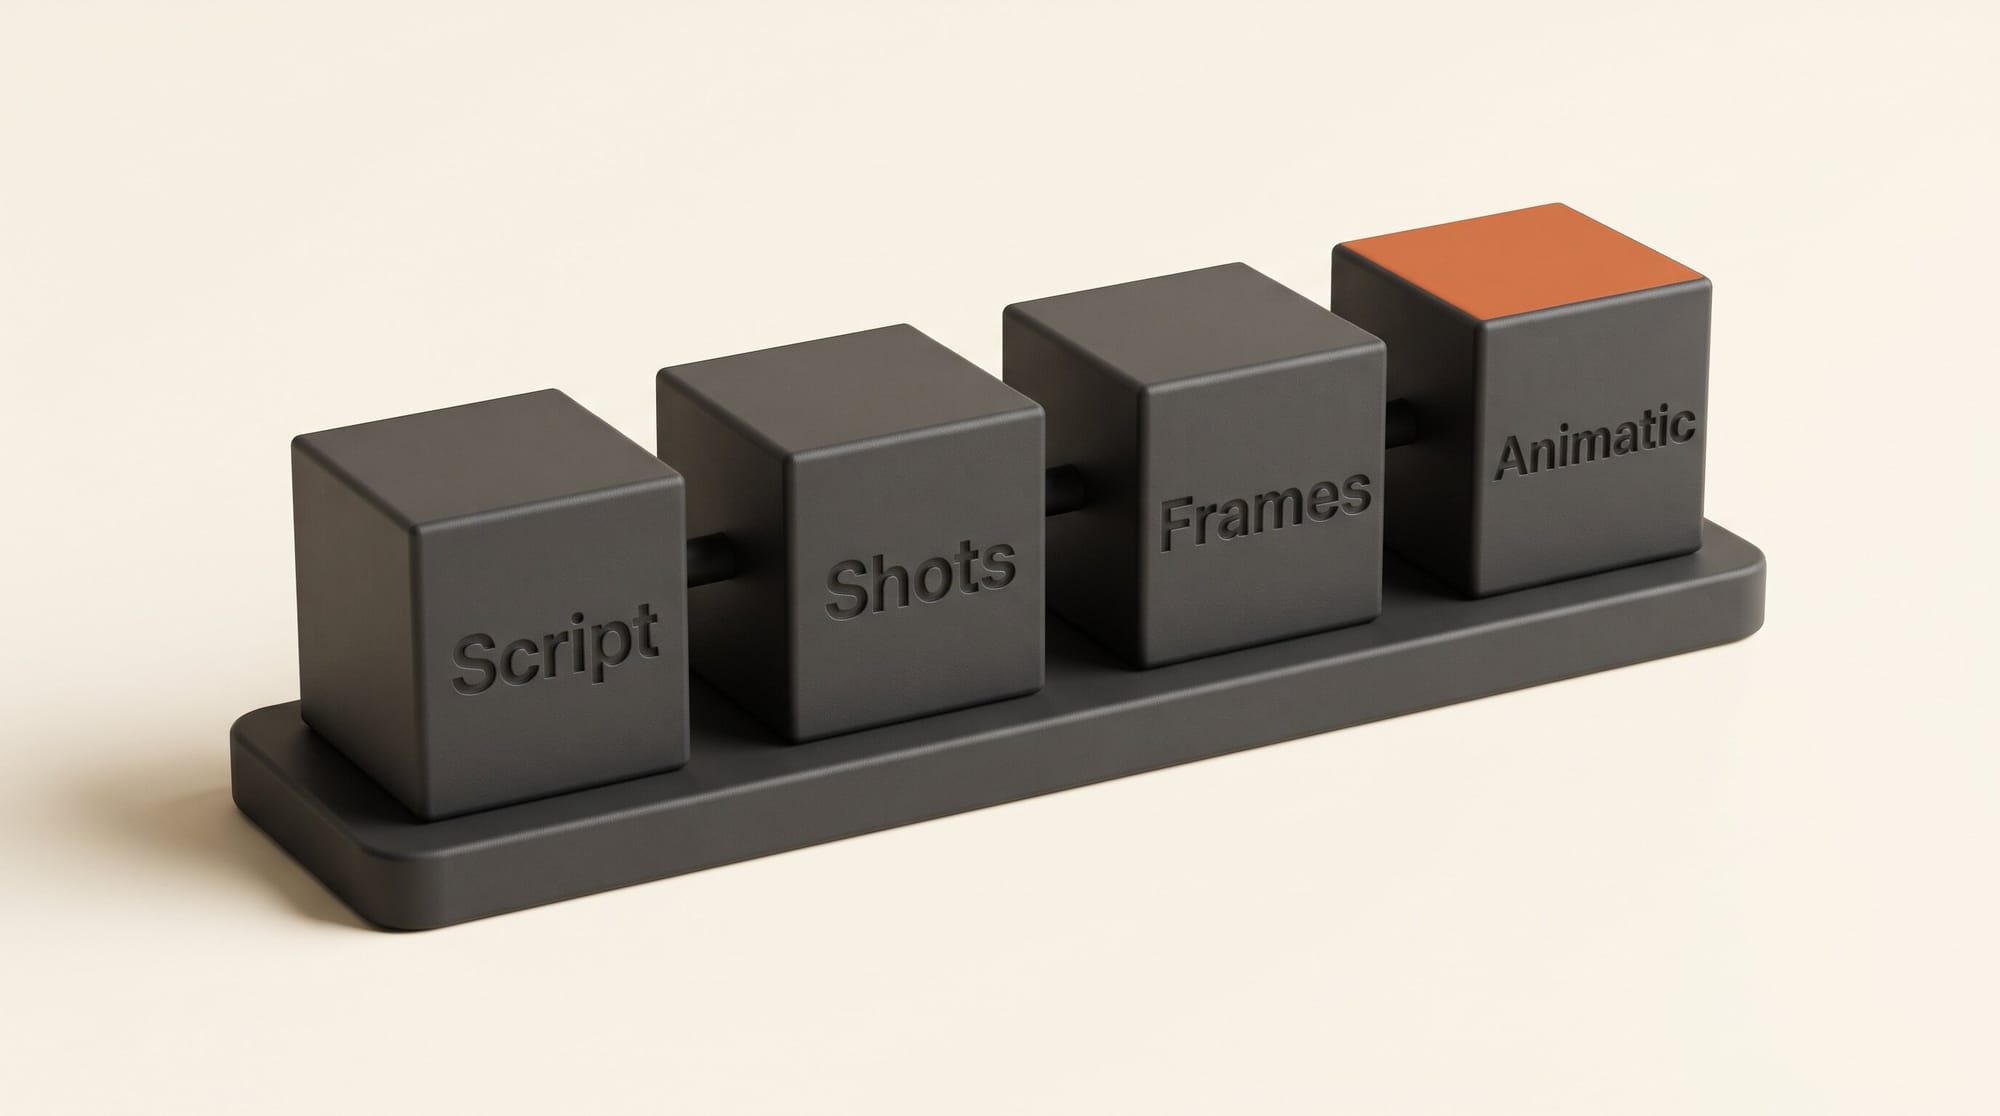
The order matters. People who open an image tool first end up with 40 beautiful pictures and no film. A storyboard is a plan for the camera, so it starts as text.
Step 1: Turn the idea into beats
Paste your script or idea into the chatbot and ask for beats: "Break this into five story beats. For each, one sentence on what changes for the viewer." Our example is a 30-second promo for a pottery studio's beginner class, starring the teacher, Mara. Five beats: the empty studio at dawn, Mara centring clay, a nervous student's first bowl collapsing, Mara's hands guiding the student's, the finished bowls on a shelf with the class date.
Step 2: Turn the beats into a shot list
Now ask for shots, with five fields each: "Turn these beats into a shot list of 8 to 12 shots. For each give shot size (wide, medium, close-up or extreme close-up), camera angle, what happens in one sentence, any spoken line under 12 words, and seconds on screen. The seconds must add up to 30." Ask it to vary the shot sizes, because a board of eight medium shots reads as flat.
Here is the first half of our example list, the shape your chatbot's answer should take:
| Shot | Size and angle | What happens | Line | Seconds |
|---|---|---|---|---|
| 1 | Wide, eye level | Empty studio, morning light on the wheels | None | 3 |
| 2 | Close-up, high angle | Mara's hands centring wet clay | "Everyone's first bowl falls." | 4 |
| 3 | Medium, eye level | A student's bowl wobbles and collapses | None | 3 |
| 4 | Extreme close-up | The student laughs, embarrassed | None | 2 |
Read the list out loud with a stopwatch. If a line does not fit its seconds, change the seconds now, not after you have drawn the frame.
Draw the Frames in Google Flow
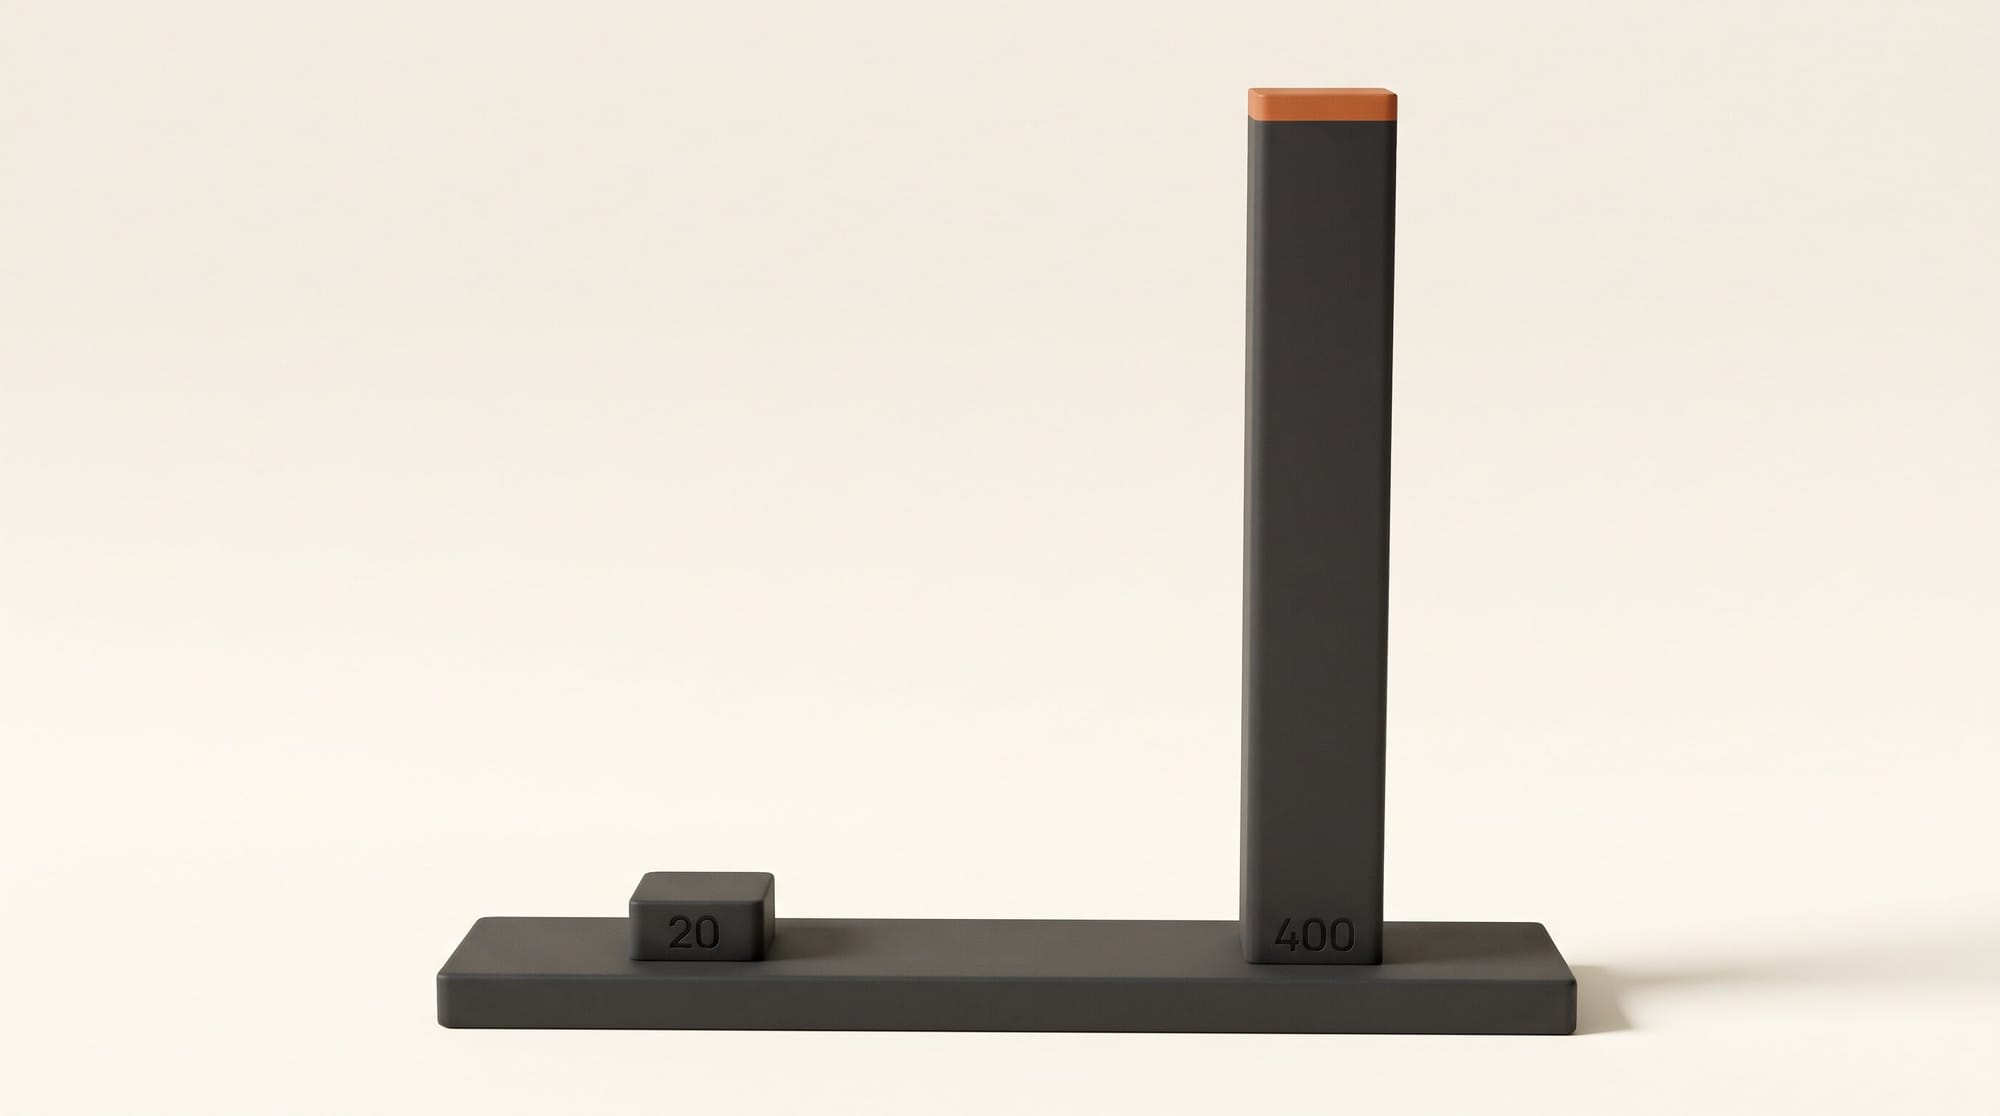
We use Flow for the frames for three reasons. Images do not touch your Flow credits: Google's Flow image help page says generating and upscaling images "does not currently use your monthly Google Flow credits." The daily limits are generous: with no Google AI plan you get up to 400 images a day from Nano Banana 2.1 and Nano Banana 2 Lite combined, and up to 20 from Nano Banana Pro. And the frames are already inside the project you will use for motion tests in Step 8.
Step 3: Cast your characters once
Open a new project at flow.google.com and click Characters on the left. Google's character steps are short: describe the character, upload or generate one or two images of how they look, give them a name, pick a voice, and click Done. A character needs at least one image to be usable. Do this for every recurring person: Mara and the student in our case. Use a plain background and even light in those images, because the model copies whatever it sees, shadows included. Our character consistency guide covers what makes a good reference.
Step 4: Write one style line and reuse it on every frame
In the prompt box, click the model name, choose Image, set the aspect ratio to match the finished video (16:9 for YouTube, 9:16 for Shorts, Reels and TikTok) and pick Nano Banana 2.1. Then build every prompt from three parts: the character by name, the shot from your list, and the same style line each time. In Flow you call a character by typing @ and its name.
Our prompt for shot 2: "@Mara, close-up from a high angle, her hands centring wet clay on a spinning wheel, morning light. Rough grayscale pencil storyboard sketch, loose lines, plain white paper, no text." The style line is the last sentence, pasted unchanged into all twelve prompts. That is what makes twelve separate generations read as one board.
Why a pencil sketch and not a polished frame? A board is for judging framing and order. Polished frames make clients argue about the colour of a mug, and they set an expectation the final shoot or AI video may not meet. Switch to a cleaner "previs" look only when the board itself is the deliverable.
Step 5: Make four options per shot and keep one
Set the number of outputs to four. Twelve shots at four options each is 48 images, well under the 400 a day. Pick the frame where the composition matches the shot list, not the prettiest one. When one frame is nearly right, hover over it, click More, choose Add to Prompt and ask for the single change ("same frame, camera lower"), rather than starting again.
Lay Out, Share and Time the Board
Step 6: Put the frames on a page someone can comment on
Download your chosen frames and lay them out in order with the shot number, the action and the line under each. A slide deck with one shot per slide works and costs nothing. If you board for clients, Boords is built for this part: you upload your Flow frames and share a review link where clients comment on a specific frame. The free plan has 5 active storyboards and 3 active scripts. The Solo plan is $39 a month and adds 250 AI images a month, version history and animatics. Boords' own AI storyboard generator can also break a script into frames and keep a saved cast consistent with @mentions, so a Solo subscriber could skip Flow; on the free plan you only get 8 sample AI images, which is why we draw in Flow.
Step 7: Cut a 30-second animatic from the stills
An animatic is the storyboard played in time. Open CapCut or DaVinci Resolve, drop the frames on the timeline in order and set each one to its seconds from the shot list. Record a scratch voiceover of the lines on your phone, drop it underneath, and add any music you plan to use. Watch it three times. This is where you find the shot that drags and the line that needs two more seconds, and fixing that here costs a few clicks instead of a reshoot.
Test Motion With Free Credits
Some shots only prove themselves when they move: the bowl collapsing, a camera push-in. Flow can turn a storyboard frame into a short clip, and the free daily credits cover a handful of tests.
Step 8: Turn key frames into 360p motion tests
In the same Flow project, click the model name, choose Video, then Frames, and drag your frame into "Add start frame." Describe only the motion: "the bowl wobbles and slumps sideways, camera still." Google's credits page sets the price: every account gets 50 Flow credits a day, with or without a subscription, and Omni Flash 1.2 costs 1 credit a second at 360p and 3 credits a second at 720p, for clips up to 10 seconds. A 10-second test at 360p is 10 credits, so you can run five a day free; at 720p the same test is 30. Daily credits do not roll over.
If the clip needs to end on a specific frame, such as the finished bowl, Google's model table lists start-and-end-frame support for Veo 3.1 Lite, which costs 10 credits per clip of 4, 6 or 8 seconds (5 for Ultra subscribers). Frames to Video with Omni Flash 1.2 is web-only for now.
Step 9: Drop the tests back into the animatic
Download the clips you like and swap them in for their stills in the animatic. You can also line clips up inside Flow: Scenebuilder, per Google's editing help, arranges clips in a sequence, trims each one with handles and downloads the scene. Google documents it for video clips, so the full animatic, stills included, still lives in your editor. A board where three of twelve shots move is usually enough to sell the idea.
Troubleshooting
- The character drifts between frames. Stop describing the face in words; let the @ character carry identity and use the prompt for the shot only. If it still drifts, replace the character's images with a cleaner, evenly lit front view.
- Frames come back in different styles. The style line changed. Paste the exact same sentence, in the same place, every time.
- Flow writes text or captions into the frame. Add "no text" to the style line and put shot numbers and lines in your layout, never in the image.
- The motion test ignores the frame. Check you are in Video, then Frames, not Ingredients, and keep the prompt to motion only. Describing the scene again gives the model a second picture to aim at.
- Flow says you are out of credits. The 50 daily credits reset each day. Draft motion at 360p, and remember images never use credits, so you can keep boarding.
What to Try Next
Board a vertical 9:16 version of the same promo for Reels and compare which shots survive the narrower frame. If you are making the final video with AI too, our Kling multi-shot tutorial turns a six-shot outline into one clip, and our Flow tools guide covers Pocket Studio, which turns one phone take into several camera angles. For a printed format with the same skills, see how to make a comic with AI.
Frequently Asked Questions
Can I storyboard a video with AI for free?
Yes. Chatbot free tiers handle the shot list, Google Flow images cost no credits and allow up to 400 Nano Banana 2.1 images a day without a plan, and CapCut or DaVinci Resolve cut the animatic for free. Flow's 50 daily credits add five 10-second motion tests at 360p.
What is the difference between a storyboard and an animatic?
A storyboard is the frames in order with notes, read like a comic. An animatic is the same frames played on a timeline at their real durations, with a scratch voiceover and music, so you can judge pacing before you shoot or generate anything.
How do I keep the same character in every storyboard frame?
Create the character once in Flow's Characters panel with one or two clean images, then call it with @ and its name in every prompt. Keep describing the shot, not the face. ChatGPT's saved reference images, added with ChatGPT Images 2.6, are a second route.
What aspect ratio should storyboard frames be?
The same as the finished video: 16:9 for YouTube and most client work, 9:16 for Shorts, Reels and TikTok. Boarding in the wrong shape hides framing problems until the edit.
Can I turn my storyboard into the actual video?
You can turn individual frames into clips with Flow's Frames to Video, at 1 credit a second at 360p or 3 at 720p with Omni Flash 1.2. Treat those as tests: the board's job is to decide the shots, and the final video is a separate pass, whether you shoot it or generate it.