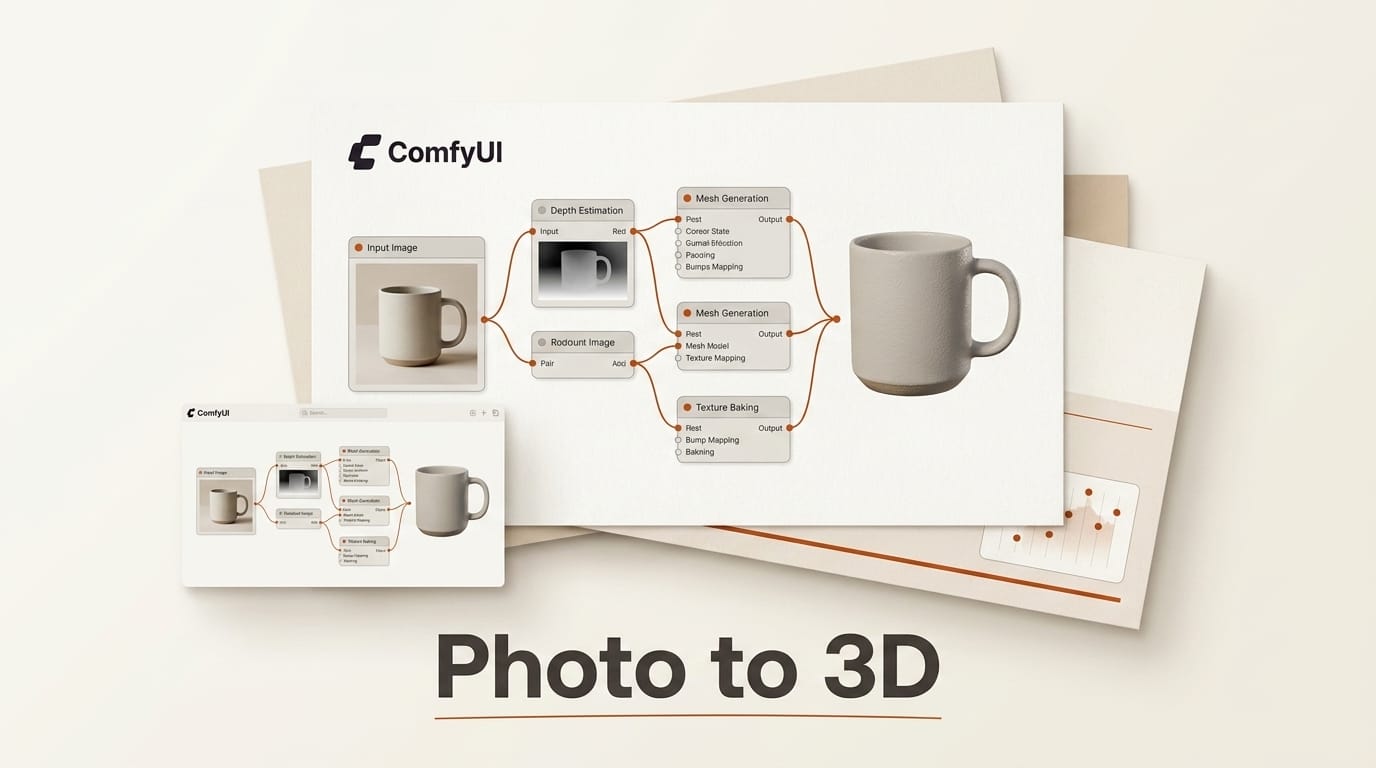
You can now turn a single photo into a textured 3D model without leaving ComfyUI, then record that model to a video clip in the same graph. This guide walks the full pipeline using the native 3D nodes that landed in ComfyUI v0.34.0: load an image, generate a mesh with TRELLIS2 or Pixal3D, clean it up, preview it, and export a turntable video. Budget about 20 minutes for your first run, most of which is a one-time model download, and a GPU with roughly 16GB of VRAM for the heaviest step.
What You Need
- ComfyUI updated to v0.34.0 or newer, where the native 3D nodes live. Check the official changelog to confirm your version.
- A GPU with around 16GB of VRAM for TRELLIS2. Pixal3D is lighter and works from a single image; SAM 3D Body is for reconstructing people rather than objects.
- One clean source photo. A product, prop, or character shot on a plain background with even lighting gives the mesh the best chance.
- Disk space for model weights. The first run downloads the 3D model, for example TRELLIS-image-large from Hugging Face.
- Optional: a Meshy account if you would rather call a cloud 3D API node instead of running a model locally.
The Workflow: Photo to 3D Model to Video
The pipeline is five nodes in a line. Each step below names the exact node, what it does, and what to expect on screen.
Step 1: Update ComfyUI and load the source image
Open ComfyUI Manager and choose Update ComfyUI, or run a git pull and reinstall requirements, until you are on v0.34.0 or later. If ComfyUI warns that your Python version is near end of life, upgrade Python before continuing so the 3D dependencies install cleanly. Then drop a standard Load Image node onto the canvas and select your photo. This is the same node you already use for any image workflow, so nothing new to learn here.
Step 2: Generate the 3D mesh with TRELLIS2 or Pixal3D
Add the TRELLIS2 or Pixal3D node and wire the Load Image output into it. Both are image-to-3D models that output a mesh with textures. TRELLIS is Microsoft's 3D asset model and produces radiance fields, Gaussians, and a GLB mesh; it is the more capable of the two and the more VRAM-hungry. Pixal3D from Tencent ARC is single-image only, uses pixel-aligned back-projection, and exports a GLB mesh with PBR textures, which makes it a lighter first choice. On the first run the node downloads its weights, so expect a wait of several minutes before the mesh appears; subsequent runs are fast. If your subject is a person rather than an object, swap in the SAM 3D Body node, which reconstructs a full-body human mesh from one image.
Step 3: Clean up the mesh
The v0.34.0 TRELLIS2 and Pixal3D node set includes built-in post-processing: remesh, decimate, UV unwrap, and texture bake. Use remesh and decimate to reduce the polygon count so the model is usable in a game engine or on the web, UV unwrap to lay out the texture coordinates, and texture bake to lock the surface detail into a clean texture map. For a quick preview you can skip this, but for anything you plan to import elsewhere, decimate and bake are worth the extra seconds.
Step 4: Preview the model
Wire the mesh into a Preview3D node to inspect it. Per the Preview3D documentation, it loads GLB, GLTF, OBJ, FBX, and STL, so you can orbit the model and confirm the geometry and textures look right before you commit to a render. This is your quality gate: if the back of the object is caved in or the texture is smeared, go back to Step 2 with a cleaner source photo or the other model.
Step 5: Record a turntable video
To turn the model into a clip, feed it into a Load3D node. The Load3D node can record your 3D view as video and exposes a recording_video output, which you pass into a Save Video node. Because v0.34.0 added HDR saving plus AV1, mkv, and webm export to that node, you can write a high-dynamic-range clip without a round trip through an external encoder. One honest caveat: the native recording captures your interactive camera view, so a hand-guided turntable is easy, but a precise, fully automated orbit render is not yet a first-class built-in for arbitrary meshes. For that, a Gaussian-splat workflow or a third-party 3D pack gives you a programmatic camera path, or you can export the GLB and render the orbit in Blender.
Troubleshooting Common Problems
Out-of-memory errors on TRELLIS2. The model wants roughly 16GB of VRAM. Switch to Pixal3D, which is lighter, or close other GPU applications. On AMD cards, ComfyUI v0.34.0 enables dynamic VRAM by default on ROCm 7.14 and newer, which helps.
The mesh is caved in or missing the back. Single-image models infer the unseen sides, so a busy background or an extreme angle confuses them. Use a plain background, a three-quarter view, and even lighting.
The node does not appear after updating. Confirm you are actually on v0.34.0 in the ComfyUI Manager, restart the server, and check that the first-run weight download finished. A partial download leaves the node loaded but non-functional.
The exported video looks washed out. If you enabled HDR saving, make sure your player and downstream editor support HDR, or switch the Save Video node back to standard H.264 for a predictable result.
What to Try Next
Once the basic pipeline works, chain a text-to-image step in front of Load Image so you generate the source render and the 3D model in one graph. If you need production-grade meshes at scale, compare the native nodes against the Meshy API node, added in an earlier late-August release, and against a dedicated local model like the one covered in our TRELLIS2 local image-to-3D guide. For the wider set of nodes that shipped alongside this release, see our ComfyUI v0.33.3 node roundup and the Pixal3D breakdown.
Frequently Asked Questions
Do I need a powerful GPU to generate 3D models in ComfyUI?
TRELLIS2 wants around 16GB of VRAM, so a mid-to-high-end GPU helps. Pixal3D is lighter and runs from a single image, making it the better first choice on modest hardware. If local generation is out of reach, the Meshy API node offloads the work to a cloud service instead.
Which node should I use, TRELLIS2 or Pixal3D?
Start with Pixal3D for objects and products because it is single-image and lighter on VRAM. Move to TRELLIS2 when you want the higher-quality mesh and can spare the memory. For reconstructing a person, use SAM 3D Body instead, since it is built for human body meshes rather than objects.
What file format do these nodes export?
TRELLIS and Pixal3D output GLB meshes, and Pixal3D includes PBR textures. GLB imports cleanly into game engines, web viewers, and 3D editors, so you can take the result straight into a real project after the decimate and texture-bake post-processing steps.
Can ComfyUI turn the 3D model into a video by itself?
Partly. The Load3D node records your 3D view to a recording_video output that a Save Video node can export with HDR, AV1, or webm. That covers a hand-guided turntable natively. A precise automated orbit render still needs a Gaussian-splat workflow, a third-party 3D pack, or an external tool like Blender.
Is this all free?
The native TRELLIS2, Pixal3D, and SAM 3D Body paths are free and run locally once you download the open model weights. The Meshy nodes call a paid cloud service and require an account, so reserve them for when you need the convenience or scale of a hosted API.