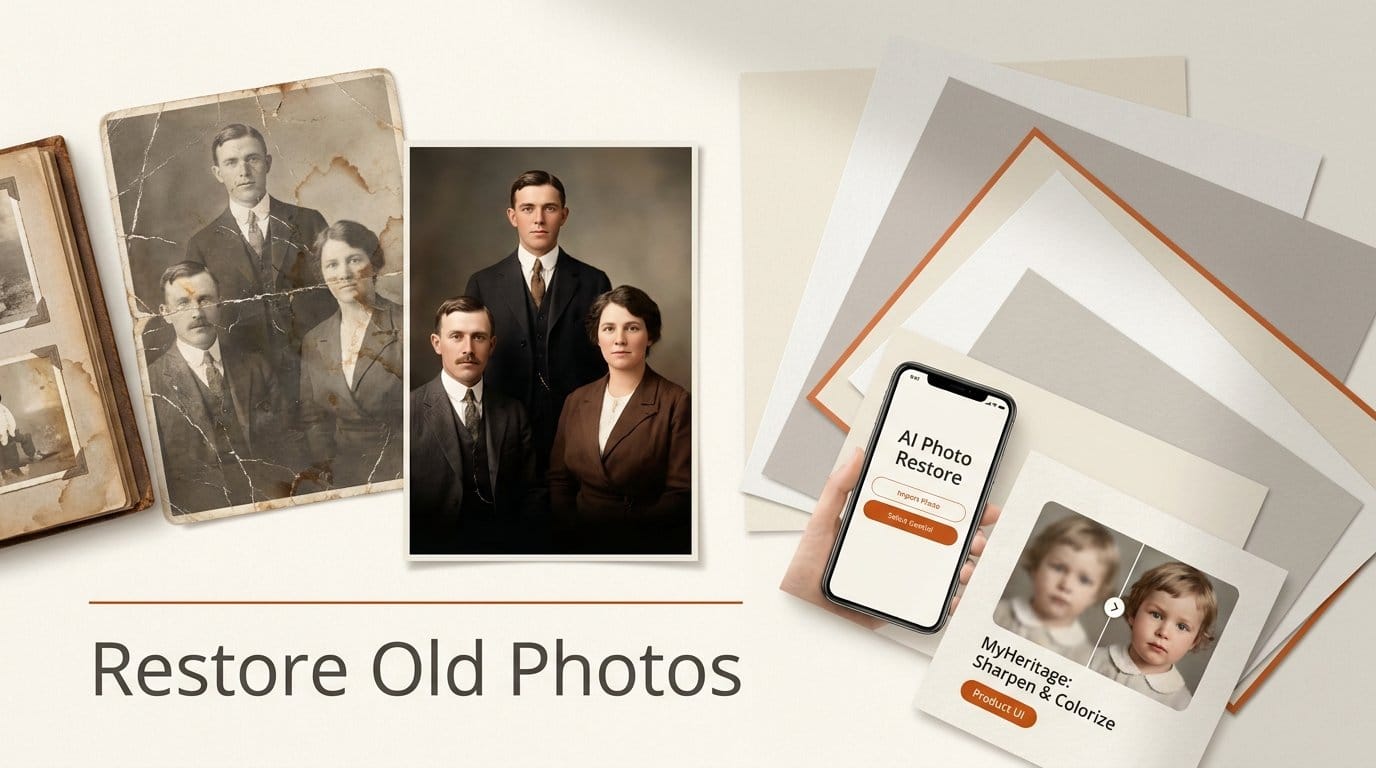
You can restore a cracked, faded or stained family photo with AI in well under an hour, and most of the tools cost nothing to try. Scan the print with Google PhotoScan or a flatbed scanner, repair the cracks and scratches with the Photo Restoration filter in Photoshop or a one-line request in the free Gemini app, sharpen small faces with MyHeritage Photo Enhancer, then add color with Photoshop's Colorize filter or MyHeritage In Color. This guide gives the exact menus and prompts for each step, which tool suits which kind of damage, and the one check that keeps an AI restoration honest: comparing every face against the original scan.
We built it from each company's own pages and help documents, checked October 15, 2026, and from the Library of Congress guide on scanning family photos. We did not run the apps for this guide. Menus move between versions, so if a filter is not where we say, search the app's help for its name.
What You Need
- The original print, negative or glass plate. Handle it by the edges. Do not try to flatten a curled print or tape a torn one before you scan it.
- A way to scan it. A flatbed scanner gives the cleanest result. No scanner? The free Google PhotoScan app for Android and iPhone takes several shots and merges them to remove glare.
- A repair tool (free option): the Gemini app, where the Nano Banana 2 image editing model is free and outputs up to 2K.
- A repair tool (professional option): Photoshop, for its Photo Restoration and Colorize Neural Filters. Adobe's Photography plan is US$19.99 a month (annual plan, billed monthly) and includes Photoshop and Lightroom.
- Optional, for small or blurry faces: a free MyHeritage account for the MyHeritage Photo Enhancer and In Color tools.
- Time: plan on 15 to 30 minutes for a typical photo, more if the damage crosses a face.
Which Tool for Which Damage
Old photos fail in a few predictable ways, and each tool is good at a different one. Pick by the problem in front of you, not by the tool you already have.
| Problem | Best tool | Cost | Runs on |
|---|---|---|---|
| Glare and curl when copying a print | Google PhotoScan | Free | Android, iPhone |
| Cracks, scratches, dust and grain | Photoshop Photo Restoration filter | Photoshop plan | Windows, Mac |
| Same job, no Photoshop | Gemini app with a restore prompt | Free (Nano Banana 2) | Web, Android, iPhone |
| A few leftover spots or a torn corner | Spot Healing Brush, or a phone eraser | Included | Any |
| Small, soft faces in a group shot | MyHeritage Photo Enhancer | Free to start, subscription for more | Web, MyHeritage app |
| Black-and-white to color | Photoshop Colorize, or MyHeritage In Color | Photoshop plan, or free to start | Windows, Mac, web |
| Faded color prints | MyHeritage In Color (Restore colors), or Photoshop Auto Color | Free to start, or Photoshop plan | Web, Windows, Mac |
Scan and Save a Master Copy
Step 1: Scan the photo at the right resolution
Every later step works on what the scan captured, so this is where quality is won or lost. The Library of Congress personal archiving guide says to scan 4x6 and 5x7 prints at 300 dpi, and at 400 or 600 dpi if you want to enlarge them to 8x10 or bigger. Slides need far more, around 1900 dpi, because they are so small. In a Library of Congress post on how much resolution is enough, its experts explain why more pays off when you want to zoom in on one person in a group shot, which is exactly what face tools do. For AI restoration, 600 dpi is the safer choice. Wipe the scanner glass first: every speck of dust on the glass becomes a spot the AI has to remove later.
On a phone, open PhotoScan, line the print up in the frame and tap the shutter. The app then shows four dots: move the phone over each one in turn. It takes a shot from each angle and merges them, which is how it removes glare. If the light is already even, the app's quick scan mode turns glare removal off for a one-shot capture. Shoot near a window in daylight, never with the flash.
Step 2: Keep the untouched scan
Save the scan as a TIFF or PNG if the scanner offers it, name it clearly (for example grandparents-1952-original) and never edit that file. Every restored version is a copy. Adobe's own old photo restoration guide makes the same point in Photoshop terms: lock the original as the background layer and make all adjustments on layers above it.
Repair Cracks and Scratches
Step 3: Run the Photo Restoration filter in Photoshop
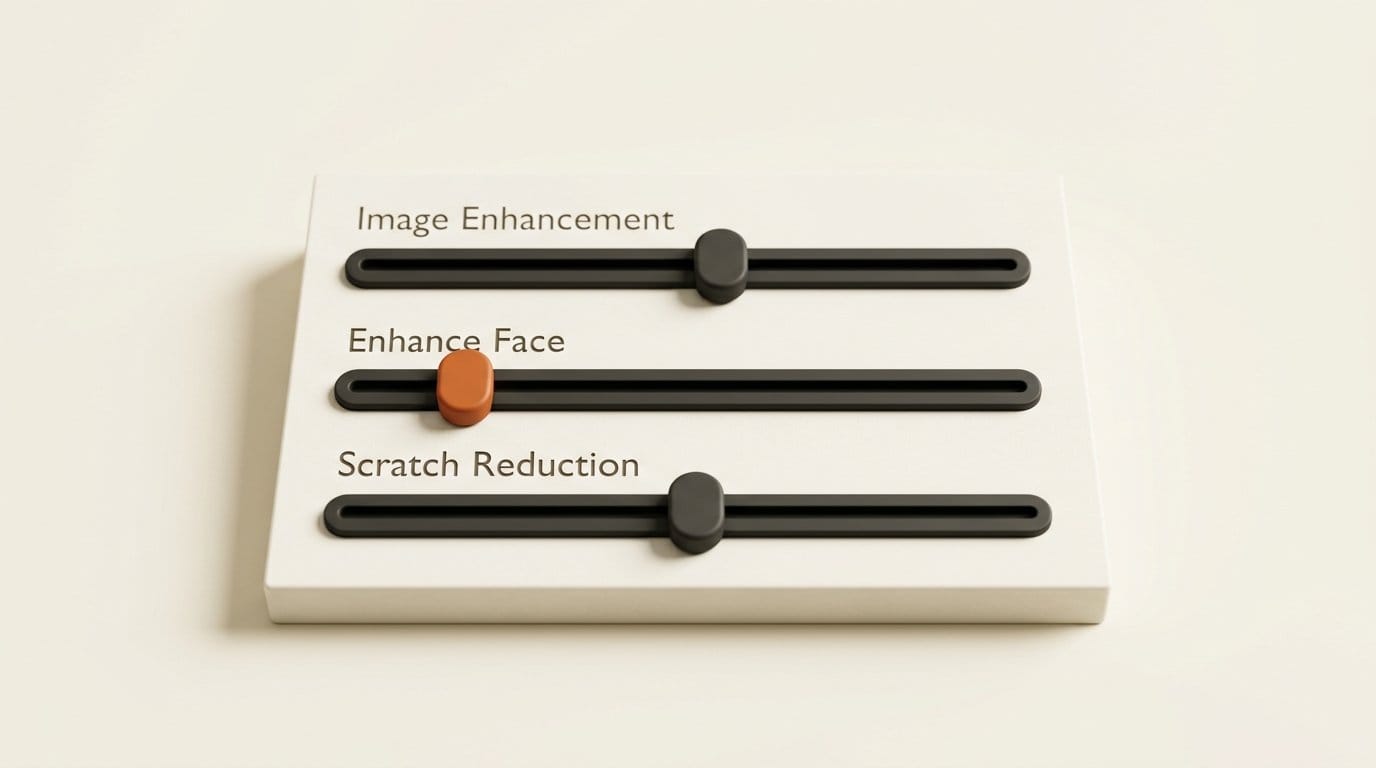
Open the scan in Photoshop and choose Filter, Neural Filters, Photo Restoration. It sits in the beta section of Adobe's Neural Filters list, and the first time you use it Photoshop downloads it. Switch it on and it cleans up the whole photo in one pass. Then fine-tune three sliders:
- Image Enhancement sets how much the whole photo is cleaned and sharpened.
- Enhance Face works only on faces. Start low: this is where the filter starts inventing.
- Scratch Reduction targets fine lines and scratches.
Set the output to New layer so the original stays untouched underneath, then click OK.
Step 4: Fix what the filter missed
Deep cracks and missing corners usually survive the filter. Add a new empty layer, pick the Spot Healing Brush, set its type to Content-Aware and tick Sample All Layers, then dab along the remaining damage. Where the brush smears a pattern, switch to the Clone Stamp with Current & Below selected and paint over it from a clean area nearby. If you work on a phone, the free AI erasers in Google Photos and Apple Photos handle stray spots too; our guide to removing objects from photos with AI covers the taps in each app.
Step 4 (free route): Ask Gemini to restore it
No Photoshop? Open Gemini, choose Create images from the tools menu, upload the scan and type a short, specific request:
Restore this old photo. Remove the cracks, scratches, stains and dust. Keep every face, the clothing, the pose and the background exactly as they are. Keep it black and white.
Keep the request short and name the damage you can see. If the result changes a face, say so in your next message ("keep the man's face exactly as in the original") rather than starting over. Two things to know before you share the result: the free model outputs up to 2K, and Google says Gemini adds an invisible SynthID watermark and a visible one to show the image is AI-made. That label is honest, but it also means a Gemini restoration is a new, AI-made picture, not your original photo cleaned up.
Sharpen Small Faces
Step 5: Bring faces into focus with MyHeritage Photo Enhancer
Group photos from the 1900s often have faces only a few millimeters wide. MyHeritage Photo Enhancer upscales them; MyHeritage says the technology is licensed from the makers of the Remini app. Go to the Photo Enhancer page, upload your repaired copy, and sign up for a free account when asked (photos uploaded without signing up are deleted). When it finishes, drag the slider across the photo and click each face to compare before and after.
Read MyHeritage's own warning before you trust it. Its launch post says the technology "infers what the original faces may have looked like" and that because the enhancement is a simulation, "its results may be inaccurate and, in rare cases, even distorted." At launch, MyHeritage said anyone could enhance 10 photos for free, with a MyHeritage logo watermark, and that Complete subscribers get unlimited, logo-free enhancements. Check the current allowance on the page before you start a big batch.
Add Color
Step 6: Colorize in Photoshop
Merge your work into one new layer (Ctrl+Alt+Shift+E on Windows, Command+Option+Shift+E on Mac), then choose Filter, Neural Filters, Colorize. The Colorize filter picks colors for the whole photo, and you can add focal points to change the color of one area, such as a dress or a car. Adobe's help page warns that faded, too dark or too bright photos give less accurate colors, so fix brightness with Curves before you colorize. Set the colorized layer's blending mode to Color so it changes only the color, not the detail.
Step 6 (free route): Colorize with MyHeritage In Color
MyHeritage In Color offers two modes: Colorize for black-and-white photos and Restore colors for faded color photos. MyHeritage licenses it from DeOldify, an open colorization project. It does not matter whether you enhance or colorize first; MyHeritage says you get the same result in either order.
Remember that AI color is a guess. It cannot know that your grandmother's dress was green. If someone in the family remembers, add a focal point in Photoshop and set the real color by hand.
Check It Against the Original
Step 7: Compare every face, then label the file
Open the original scan and the restored copy side by side at 100% zoom and go face by face: eyes, teeth, ears, hairline, glasses. This is where AI restoration goes wrong, because a damaged face gets rebuilt from what faces usually look like, not from what that person looked like. If a face has changed, go back a step and lower Enhance Face, or paint the original face back in through a layer mask.
Save the result with a name that says what it is (grandparents-1952-restored-ai) and keep it next to the original. When you share it with family or post it, say it was restored with AI. In 20 years nobody will remember which version is the real one unless the file name tells them.
Troubleshooting
- Faces look waxy or too smooth. Enhance Face is too high, or the photo went through two face tools. Use one face tool only, at a low setting.
- The restored person looks like someone else. The damage crossed the face and the AI filled it in. Keep the original face, repair only around it, and accept a little damage over a wrong face.
- Glare or a bright band across the scan. Rescan rather than repair: turn glare removal back on in PhotoScan, or move away from overhead lights.
- Colors look muddy or sepia. Fix brightness and contrast with Curves first, then colorize; Adobe says faded photos give less accurate colors.
- Gemini changed the background or pose. Repeat that it must keep everything else exactly as it is, or crop to the damaged area, restore it, and put it back in your photo editor.
What to Try Next
Run your oldest, most damaged photo through both the Photoshop and the Gemini routes and compare the faces; the difference shows quickly which one invents less on your kind of damage. If you have old home movies as well, our AI video upscaler comparison covers the same job for footage. And if a restored photo ends up online, our guide to the public SynthID detector explains how others can check whether an image went through Google's AI.
Frequently Asked Questions
Can I restore old photos with AI for free?
Yes. Google PhotoScan is free for scanning, the Gemini app's Nano Banana 2 model repairs and colorizes for free, and MyHeritage lets you start with a free account. Photoshop's Photo Restoration and Colorize filters need a Photoshop plan; the Photography plan is US$19.99 a month.
Does AI photo restoration change people's faces?
It can. Restoration tools rebuild missing detail from what faces usually look like. MyHeritage says its enhancement is a simulation whose results "may be inaccurate and, in rare cases, even distorted." Always compare faces against the original scan at full zoom.
What resolution should I scan old photos at?
The Library of Congress recommends 300 dpi for 4x6 and 5x7 prints, 400 to 600 dpi if you want to enlarge them to 8x10 or bigger, and around 1900 dpi for slides.
Should I restore the photo in black and white or in color?
Restore it in black and white first and save that version. Colorizing is a separate, optional step, and AI colors are guesses, so keep both the restored black-and-white copy and the colorized one.
Can people tell a photo was restored with AI?
Often, yes. Images edited in Gemini carry a visible watermark and an invisible SynthID watermark that Google's detector can read. Even without a watermark, it is good practice to label a restored copy as AI-restored and keep the original scan.