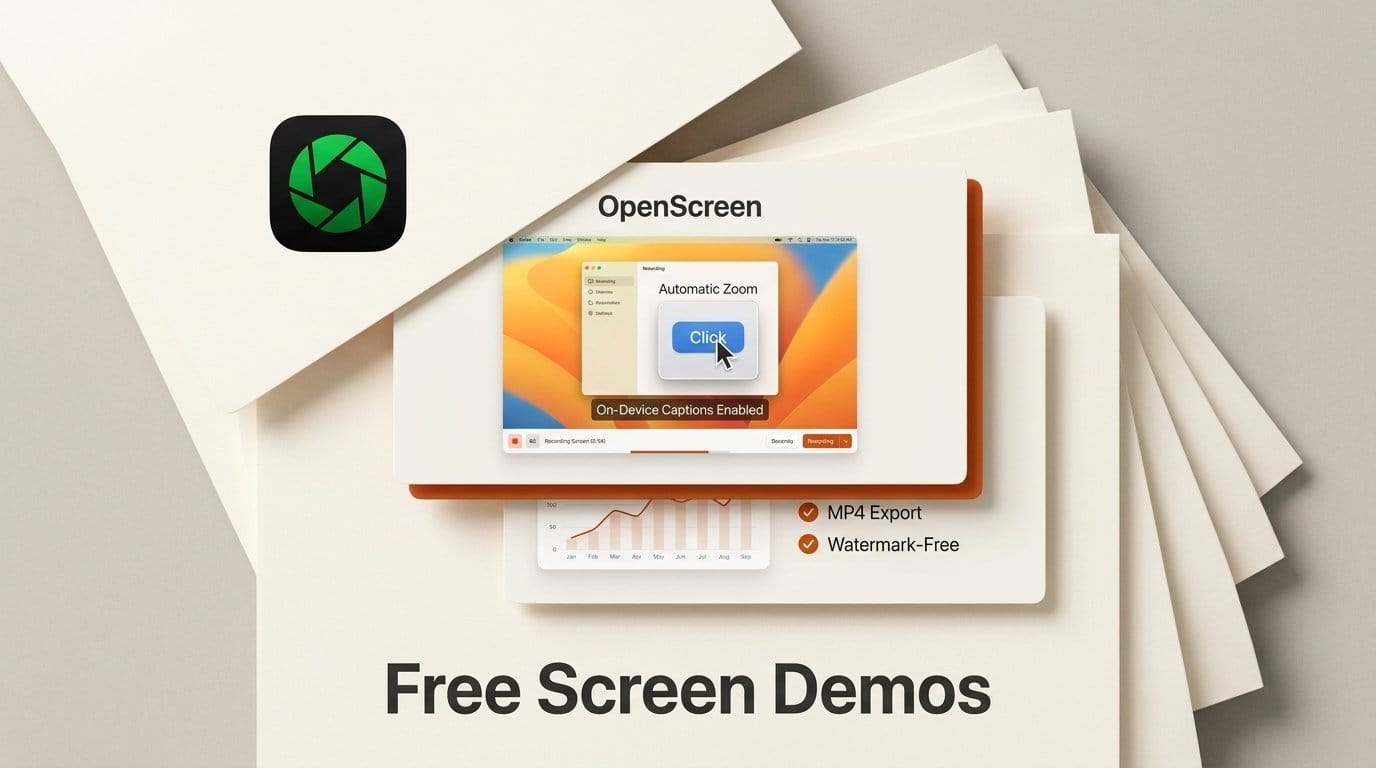
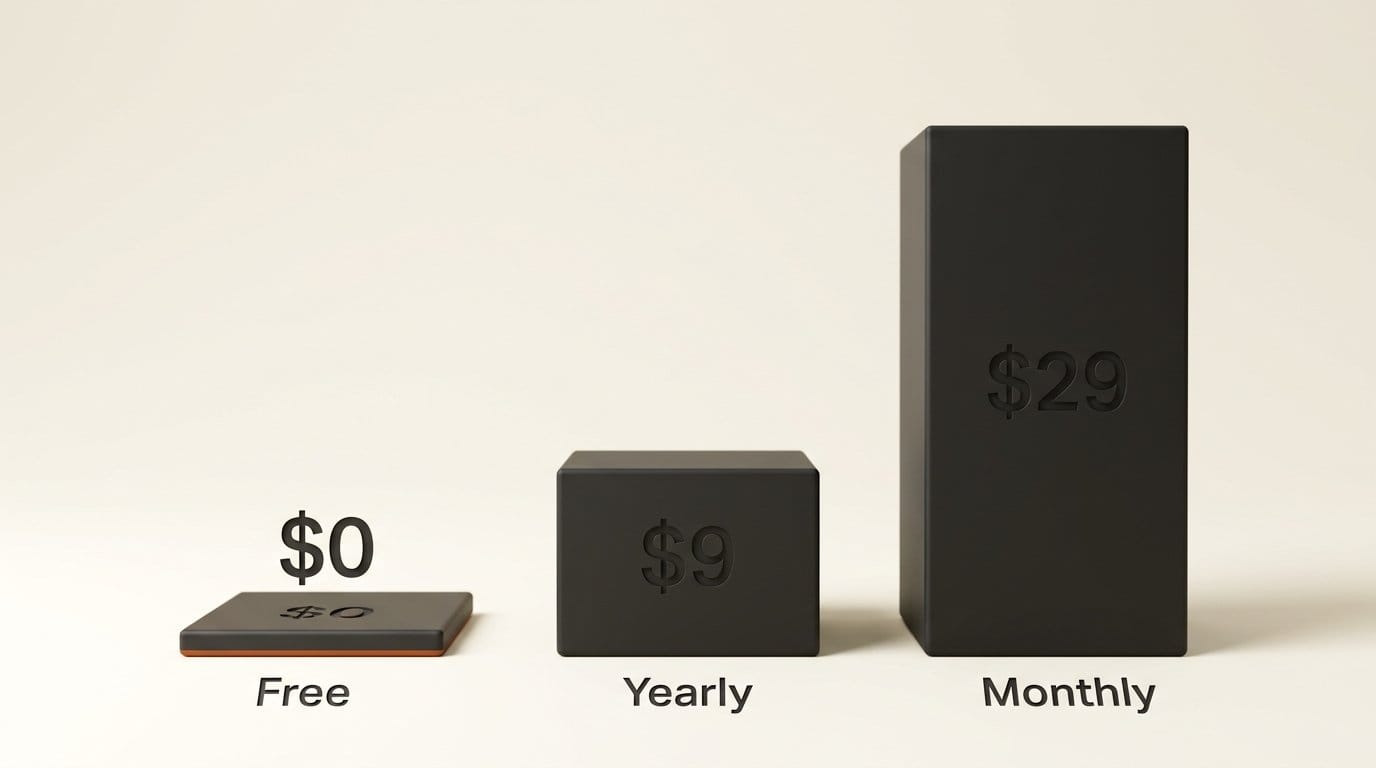
OpenScreen is a free, MIT-licensed screen recorder and editor for Windows, macOS and Linux that turns a raw screen capture into a polished demo: automatic zooms on your clicks, a styled cursor, a webcam bubble, on-device captions and an MP4 or GIF export with no watermark. This guide takes you from install to a finished product demo or tutorial video in nine steps. It costs nothing. Screen Studio, the Mac-only app that defined this category, costs $29 a month, or $9 a month billed yearly.
We built this guide from OpenScreen's documentation, 2.0 release notes and product demo video guide, checked October 13, 2026. Our test machine has no desktop to run the app, so every number below is OpenScreen's own.
What You Need
- A computer: Windows 10 version 1903 or later, macOS 13 Ventura or later, or a recent Linux. 8 GB of RAM is the minimum and 16 GB is recommended. No graphics card is required: export uses your GPU when it can and falls back to the processor when it cannot.
- OpenScreen 2.0: free for personal and commercial use, with nothing behind a paywall.
- A microphone for the voice-over, and a webcam if you want to appear on screen. Both are optional.
- About 264 MB of free space for the speech-to-text model, which downloads once the first time you make captions.
- The thing you are demoing, ready to show: a demo account, sample data, notifications off.
- Optional: an API key from Claude, OpenAI, Gemini, Mistral, OpenRouter or MiniMax, only if you want the chat assistant to make edits for you. Everything else works without one.
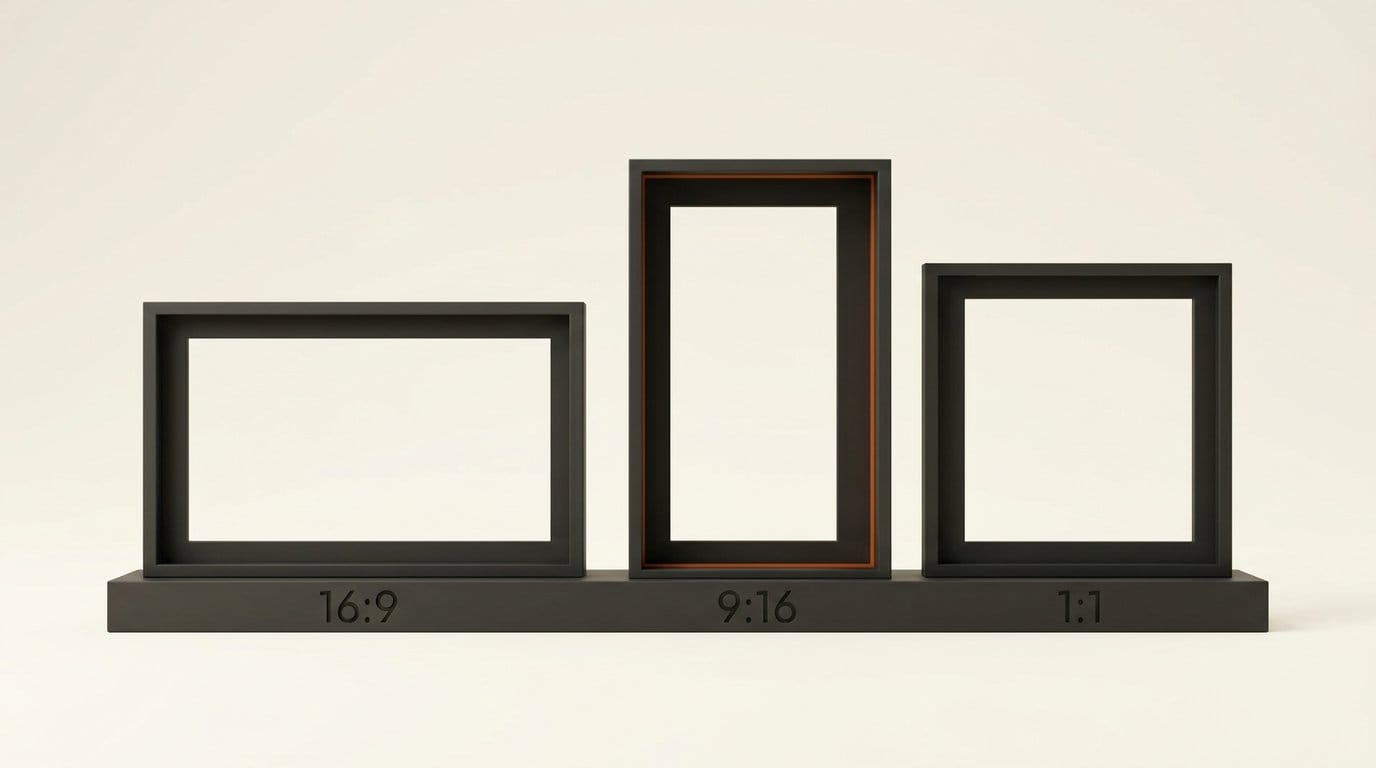
Decide where the video will be watched before you record, because that sets its shape: 16:9 for YouTube or a website, 9:16 for Shorts, Reels and TikTok, 1:1 for a square feed slot.
Set Up the App
Step 1: Install OpenScreen
Download it from the installation page or the GitHub release page, and only from there: the project warns that other sites using the OpenScreen name are not affiliated with it.
- Windows: get it from the Microsoft Store. The Store version is signed by Microsoft, installs with no security warning and updates itself.
- Mac: download the .dmg for your chip (Apple Silicon or Intel) and drag OpenScreen into Applications. It is signed and notarized by Apple, so it opens without a workaround.
- Linux: pick the .deb, .rpm, .pacman or AppImage package that matches your system.
Step 2: Grant the permissions
On a Mac, allow both Screen Recording and Accessibility in System Settings > Privacy & Security when the first launch asks. Recording cannot start without both, and Accessibility is what lets OpenScreen see your clicks, which the automatic zooms depend on. macOS 15 and later re-ask from time to time for every screen recorder; grant it again.
Record a Clean Take
Step 3: Write the script in the Notes window
On Windows and Mac, click Open Notes in the small floating recording bar and write one action per line. The Notes window doubles as a teleprompter: Start auto-scroll runs the text at a speed from 10 to 100, with the font from 14 to 48 px. Windows keeps it out of the recording automatically; on a Mac, put it on a screen you are not recording.
Step 4: Pick a source, turn on audio, record
Click the screen icon on the recording bar and choose a whole screen or a single window (on macOS 15.2 and later, in Apple's own picker). There is no region capture: record the window, then crop in the editor.
Turn on Microphone and watch its level meter, System audio if the product makes sound, and Webcam if you want to appear on screen. The webcam records to its own file, so you can move it later. Leave the cursor on its default editable mode so you can restyle it afterwards.
Press record. A 3-2-1 countdown runs, then capture starts at a 60 fps target, up to 3840x2160 on Windows and Mac. You can pause, restart the take, cancel or stop.
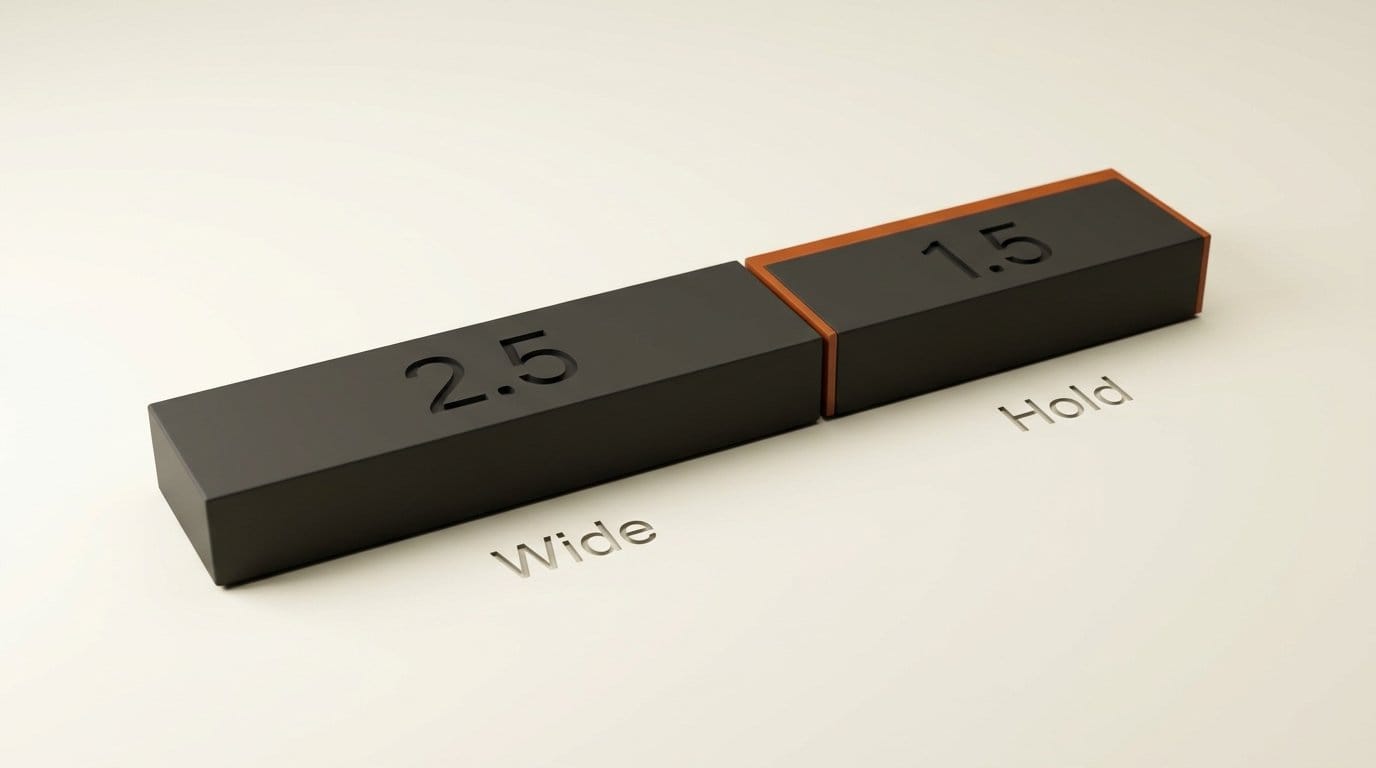
Pace yourself for the zooms. Click where the action is and let the result show before moving on. Clicks close together share one zoom, the zoom holds for 1.5 seconds after the last click, and the first 2.5 seconds stay wide, so wait a moment before your first click.
Edit: Zooms, Cuts and Captions
Step 5: Review the automatic zooms
Press Stop and the editor opens with zooms already placed on the moments you clicked. This runs on your computer, with no internet and no AI model. Click any zoom to set its level, from 1.25x to 5x, and its focus: Auto follows the cursor, Manual holds one point. Press Z to add a zoom by hand and Ctrl+D (Cmd+D on a Mac) to delete one. If none appeared, open Auto-enhance on the timeline and choose Automatic zooms.
Step 6: Cut by editing the text
Open the Transcript panel and click Transcribe now. OpenScreen transcribes on your computer with Whisper, so your audio is never uploaded; the first run downloads the model, about 264 MB, and after that it works offline. Select words in the transcript and press Delete: that part of the video is cut. Pauses appear as markers in the text; click one to cut the silence. For waits you cannot cut, such as a page loading, press S to add a speed region at 1.5x, 2x or 4x, or any value from 0.25x to 16x. The audio is stretched to match.
Recording in several takes? Switch to Media and drag each take onto the clip row to join them.
Step 7: Set the look, hide private data, add sound
In Camera layout, choose Picture in picture, Vertical stack, Dual frame or No webcam. The picture-in-picture camera is square by default, sized from 15 to 60% of the frame, and shrinks during a zoom so it never covers the detail. Cutout removes the background behind you with no green screen. Press C to add a full-screen camera segment for an intro or outro. Under Composition, pick one of 18 built-in wallpapers, a color, a gradient or your own image.
Press A to add an annotation: Blur over emails or customer names (scrub through to check every frame), or text, arrows and a logo. Press V to record a voice-over or M to import music. In 2.0, your voice is levelled to -16 LUFS, a common loudness target for online video, and music starts at -18 dB and dips under your voice automatically.
Step 8: Turn on captions
In the Transcript panel, click Captions and switch on Show captions. They come straight from the transcript, so the cuts you made in Step 6 already apply. Set the font, size, color, background plate, position, and from 1 to 12 words per line; keep lines short for a vertical cut that will be watched on a phone. The captions are burned into the video: OpenScreen does not write a separate .srt subtitle file, so viewers cannot switch them off.
Export for Each Platform
Step 9: Pick the shape, then export
Under Composition, set Format. Auto, the default, fits the frame around your recording. You can also pick 16:9, 9:16, 1:1, 4:3, 4:5, 16:10 or 10:16. A 16:9 recording exported as 9:16 fills the vertical frame with a window that follows your cursor, instead of a small strip in the middle.
Click Export. The 2.0 export panel offers four starting points: Web / YouTube, Social, Studio and README GIF. MP4 comes out at 720p, 1080p or Source, at 24, 30 or 60 fps, always in H.264, the format every platform accepts. The release notes put a 1080p, 60 fps export at 18.7 Mb/s, up from 8 Mb/s in version 1: roughly 140 MB per minute of video. GIFs export at 15 to 30 fps in Small, Medium, Large or Original size. There is no watermark.
Press Ctrl+S (Cmd+S) to save an .openscreen project, so when the product changes you can swap one clip and export again.
Optional: Let the AI Assistant Do the Fiddly Edits
OpenScreen has a chat panel that edits the timeline when you describe the change, such as "cut the dead air in the intro" or "blur the email address". It stays off until you paste in an API key from Claude, OpenAI, Gemini, Mistral, OpenRouter or MiniMax. Requests go straight to that provider, which bills you for what you use; OpenScreen adds no charge. Ctrl+Z (Cmd+Z) undoes any assistant edit, Smart cuts in the Auto-enhance menu hands the whole take's cutting to it in one click, and the same key translates captions into 15 languages. Details are in the AI editing guide.
OpenScreen or Screen Studio?
| OpenScreen 2.0 | Screen Studio | |
|---|---|---|
| Price | Free, MIT license | $29 a month, or $9 a month billed yearly |
| Runs on | Windows, macOS 13+, Linux | Mac only, no Windows plans |
| Automatic zooms | Yes, from your clicks | Yes |
| Captions | On-device, burned in | Cloud transcript |
| Shareable links | No: you upload the file yourself | Yes |
| Top export | Source resolution, 60 fps | 4K at 60 fps |
Pick OpenScreen if you are on Windows or Linux, upload files to YouTube or social yourself, or want captions that never leave your machine. Pick Screen Studio if you work on a Mac and want hosted share links and shared projects with a team. OpenScreen exports only video and GIF, so it cannot make a clickable demo, and for hosted videos with view counts a tool such as Loom fits better.
Troubleshooting
- Mac: recording will not start. Check that both Screen Recording and Accessibility are on for OpenScreen. If you upgraded from a version older than 1.9.0, remove OpenScreen from both lists in Privacy & Security, relaunch and grant them again.
- No automatic zooms appeared. The take has no recorded clicks (on a Mac, Accessibility is missing), the clicks fall only in the first or last seconds, or existing zooms already cover them. Add zooms with Z.
- Windows: "Windows protected your PC". That appears with the .exe from GitHub, which is not code-signed. Choose More info, then Run anyway, or install from the Microsoft Store instead, which shows no warning.
- Windows 10: the recording bar cannot be clicked in 2.0.0. Open Command Prompt from the Start menu, paste
setx OPENSCREEN_DISABLE_CONTENT_PROTECTION 1and press Enter; it switches off the setting that hides the bar from captures. Quit OpenScreen from its tray icon and restart it. The bar may now show in recordings, so hide it before you record. The FAQ explains how to undo it once a fix ships. - Mac: OpenScreen quits when you choose what to record. A utility that closes apps when their last window closes is quitting it. Add OpenScreen to that utility's exceptions.
What to Try Next
Record the same walkthrough once and export it twice, as 16:9 for YouTube and 9:16 for Shorts, with shorter caption lines on the vertical cut. If your microphone is noisy and you have an RTX graphics card, run the voice-over through NVIDIA Broadcast 2.3's free file processor before importing it. Want a product video without recording anything? HyperFrames Studio builds one from a description. For other ways to polish screen recordings, see our Velo 2.0 comparison against Loom and Descript and Capptivo, another free open-source recorder.
FAQ
Is OpenScreen really free?
Yes: MIT-licensed, free for personal and commercial use, no watermark. The only optional cost is the AI assistant, billed by the provider whose key you add.
Does OpenScreen work on Windows?
Yes, on Windows 10 version 1903 or later, as well as macOS 13 or later and Linux. Install the Microsoft Store version: it is signed and updates itself.
Do I need an AI subscription to use it?
No. Automatic zooms come from your recorded clicks, and captions are transcribed on your computer. An API key is only needed for the chat assistant, Smart cuts and caption translation.
Can I make vertical videos for Shorts, Reels and TikTok?
Yes. Set Format to 9:16 and a widescreen recording fills the vertical frame, following your cursor.
Does OpenScreen create subtitle files?
No. Captions are burned into the video and OpenScreen writes no .srt or .vtt file. If you need one, use your platform's own auto-captions.