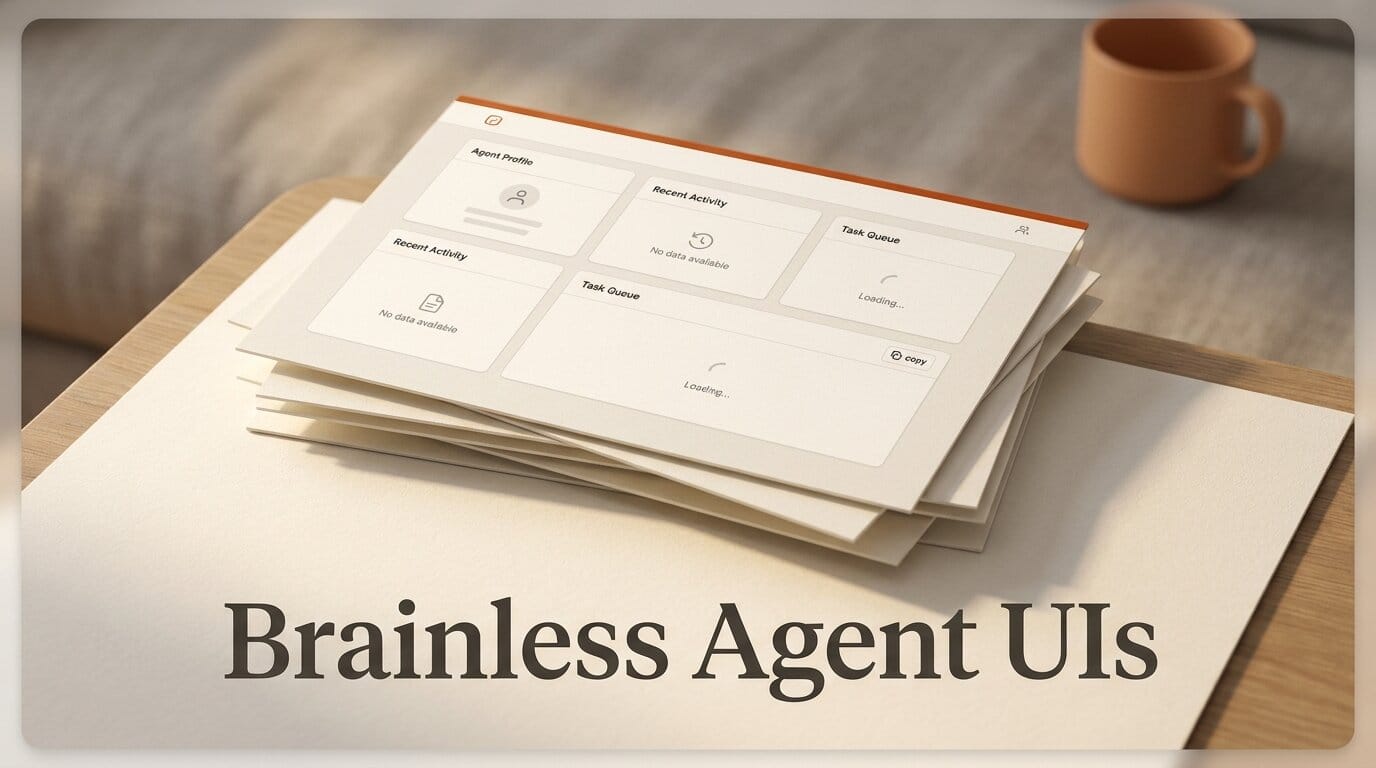
Every team building an AI coding tool eventually hits the same wall: the model works, but the interface looks like raw text dumped into a <pre> tag. On July 15, developer Ben Swerdlow shipped a fix. Brainless is a shadcn component registry that rebuilds the interfaces of Claude Code, OpenAI Codex, and Grok as copy-paste React components, so you can drop a polished agent UI into your own app with a single command. Within hours it hit the front page of Hacker News with more than 110 points.
The pitch is deceptively small and genuinely useful. Instead of reverse-engineering how Claude Code renders a tool call, a thinking block, or a diff, you install a pixel-matched component and wire your own data into it. It is MIT-licensed, ships 34 components across three agent styles, and installs through the standard shadcn CLI you may already use.
What Brainless Actually Ships
Brainless is not a framework or a runtime. It is a shadcn registry: a set of JSON manifests that the shadcn CLI reads to copy real React and Tailwind source files straight into your project. You own the code after install. There is no dependency to update, no black box, and no lock-in. The full source lives on GitHub under an MIT license, created July 11 and already past 80 stars.
Each component reproduces a specific piece of a terminal agent interface: the welcome header, a chat message, a streaming thinking line, an expandable tool call, a code diff, a permission prompt, a slash-command menu, and the composer input. The point is fidelity. Swerdlow pixel-matched details most teams skip, down to Grok's braille launch mark rendered as a crisp dot-matrix SVG with a resting grayscale shimmer.
Claude Code vs Codex vs Grok: What You Get
Brainless ships three separate component sets, one per agent aesthetic. You can mix them, but most teams will pick the look that matches their product. Here is how the three break down.
| Agent style | Components | Signature pieces | Best for |
|---|---|---|---|
| Claude Code | 9 | Header with fieldset welcome box, thinking line, tool call, todo list, diff, permission, slash menu | Clean, minimal chat-style coding assistants |
| Codex | 8 | Header, exec block, working state, diff, permissions, slash menu, composer | Command-execution and shell-heavy agents |
| Grok | 17 | Status bar, event stream, thought, plan, project picker, shortcuts, settings, turn-end | Feature-rich agents with plans, projects, and settings |
The Grok set is the most complete because Grok Build's terminal UI is the busiest of the three, with a status bar showing branch, working directory, and context usage. If you want a full agent surface out of the box, start there. If you want restraint, the Claude Code set is the tightest.
How to Add an Agent UI in Five Minutes
The workflow is identical to installing any shadcn component. If you already have a React project with Tailwind and shadcn configured, you are three steps from a working agent interface.
- Pick a component from the components gallery. Say you want the Claude Code header.
- Run the install command, pointing shadcn at the registry manifest URL:
The CLI copies the component source into your project. Swapbunx --bun shadcn@latest add https://brainless.swerdlow.dev/r/claude-header.jsonbunx --bunforpnpm dlxornpxif you prefer. - Import and render it, then feed it your own agent's data: the message stream, tool-call payloads, and permission requests coming from your backend. The component handles layout, states, and accessibility; you handle the data.
Because each component is plain source in your repo, you edit it like any other file. Change the colors, drop a section, or rename props. There is nothing to fork and no upstream to fight. Brainless also publishes an llms/{component}.txt prompt file per component, so you can hand the spec to your own coding agent and have it wire the integration for you.
What This Enables
The immediate win is time. Building a convincing agent chat surface from scratch, with streaming states, collapsible tool calls, and keyboard-navigable permission prompts, is days of fiddly UI work. Brainless collapses that to an afternoon, which matters most for the growing wave of solo builders and small teams shipping wrappers around Claude, GPT, and Grok models.
It also raises the floor on quality. A lot of AI apps look generated because their authors treated the interface as an afterthought. Starting from a polished, accessible baseline means your product looks intentional on day one, and you spend your design budget on what makes your tool different rather than on re-solving how to render a diff. If you are comparing which model to build on, our breakdown of Grok 4.5 vs Opus 4.8 vs GPT-5.6 for coding pairs naturally with picking a UI style here.
Why Accessibility Is the Real Story
The detail that separates Brainless from a screenshot-to-CSS clone is that the components are semantically correct. Expandable tool calls and diffs use native <details> disclosure elements. Status updates for thinking and working states live in aria-live regions so screen readers announce them. Permission and settings menus are real radiogroups you drive with arrow keys, and the composer is a genuine text input, not a styled div.
That is the part almost every hand-rolled agent UI gets wrong. Terminal aesthetics tempt developers into dumping monospace text into non-interactive elements, which breaks keyboard navigation and assistive tech entirely. Brainless bakes the accessible primitives in, so you inherit them for free instead of discovering the gap in an audit later.
Who Made It, and Why It Exists
Brainless comes from Ben Swerdlow, who works on Freestyle, an infrastructure platform that gives AI agents sandboxed Linux VMs and an API-first git filesystem. That context explains the project: teams building on agent infrastructure need agent front ends, and there was no shared vocabulary for what those should look like. Brainless proposes one, borrowing the visual language the three leading CLIs already established.
It also arrives as the coding-agent field crowds. Tools like Grok Build's plugin marketplace show how fast the surface area is expanding, and a common component layer lowers the cost for the next entrant to look credible.
What to Do Next
If you are shipping anything with an agent chat surface, browse the components gallery and install one that matches your product's tone. Start with the Claude Code set for minimalism or the Grok set for a full-featured surface. Because it is MIT-licensed source in your own repo, there is little risk in trying it: install one component, wire in a single message stream, and see whether the baseline saves you the week you were about to spend on UI.
Frequently Asked Questions
Is Brainless free to use commercially?
Yes. It is released under the MIT license, so you can use the components in commercial products, modify them, and ship them without attribution requirements beyond the standard MIT notice.
Do I need shadcn already set up in my project?
Yes. Brainless is a shadcn registry, so you need a React project with Tailwind CSS and shadcn configured. Once that is in place, you install components by pointing the shadcn CLI at the Brainless registry URLs.
Does Brainless connect to Claude, Codex, or Grok's actual models?
No. Brainless only provides the interface components. It does not call any model or API. You wire your own agent backend into the components and pass in the message, tool-call, and permission data yourself.
How many components are there, and which agent has the most?
There are 34 components total: 9 for Claude Code, 8 for Codex, and 17 for Grok. Grok has the most because its terminal interface includes extra surfaces like a status bar, project picker, plan view, and settings.
Can I customize the components after installing?
Fully. The shadcn CLI copies real source files into your repository, so you own and edit the code directly. There is no package dependency to update and nothing to fork upstream.
What makes it different from just screenshotting the CLIs?
The components are semantically accessible, not just visually matched. They use native details elements, aria-live regions, and radiogroups, so keyboard navigation and screen readers work correctly out of the box.